Old AC DC adapter, how to reuse them with electronics.

Old AC DC adapter, how to reuse them with electronics.

The LM2596 modules are common and they come with a potentiometer to regulate the voltage output. I have also used Drok converters which are very convenient in sizes and features, as well as abundant models.

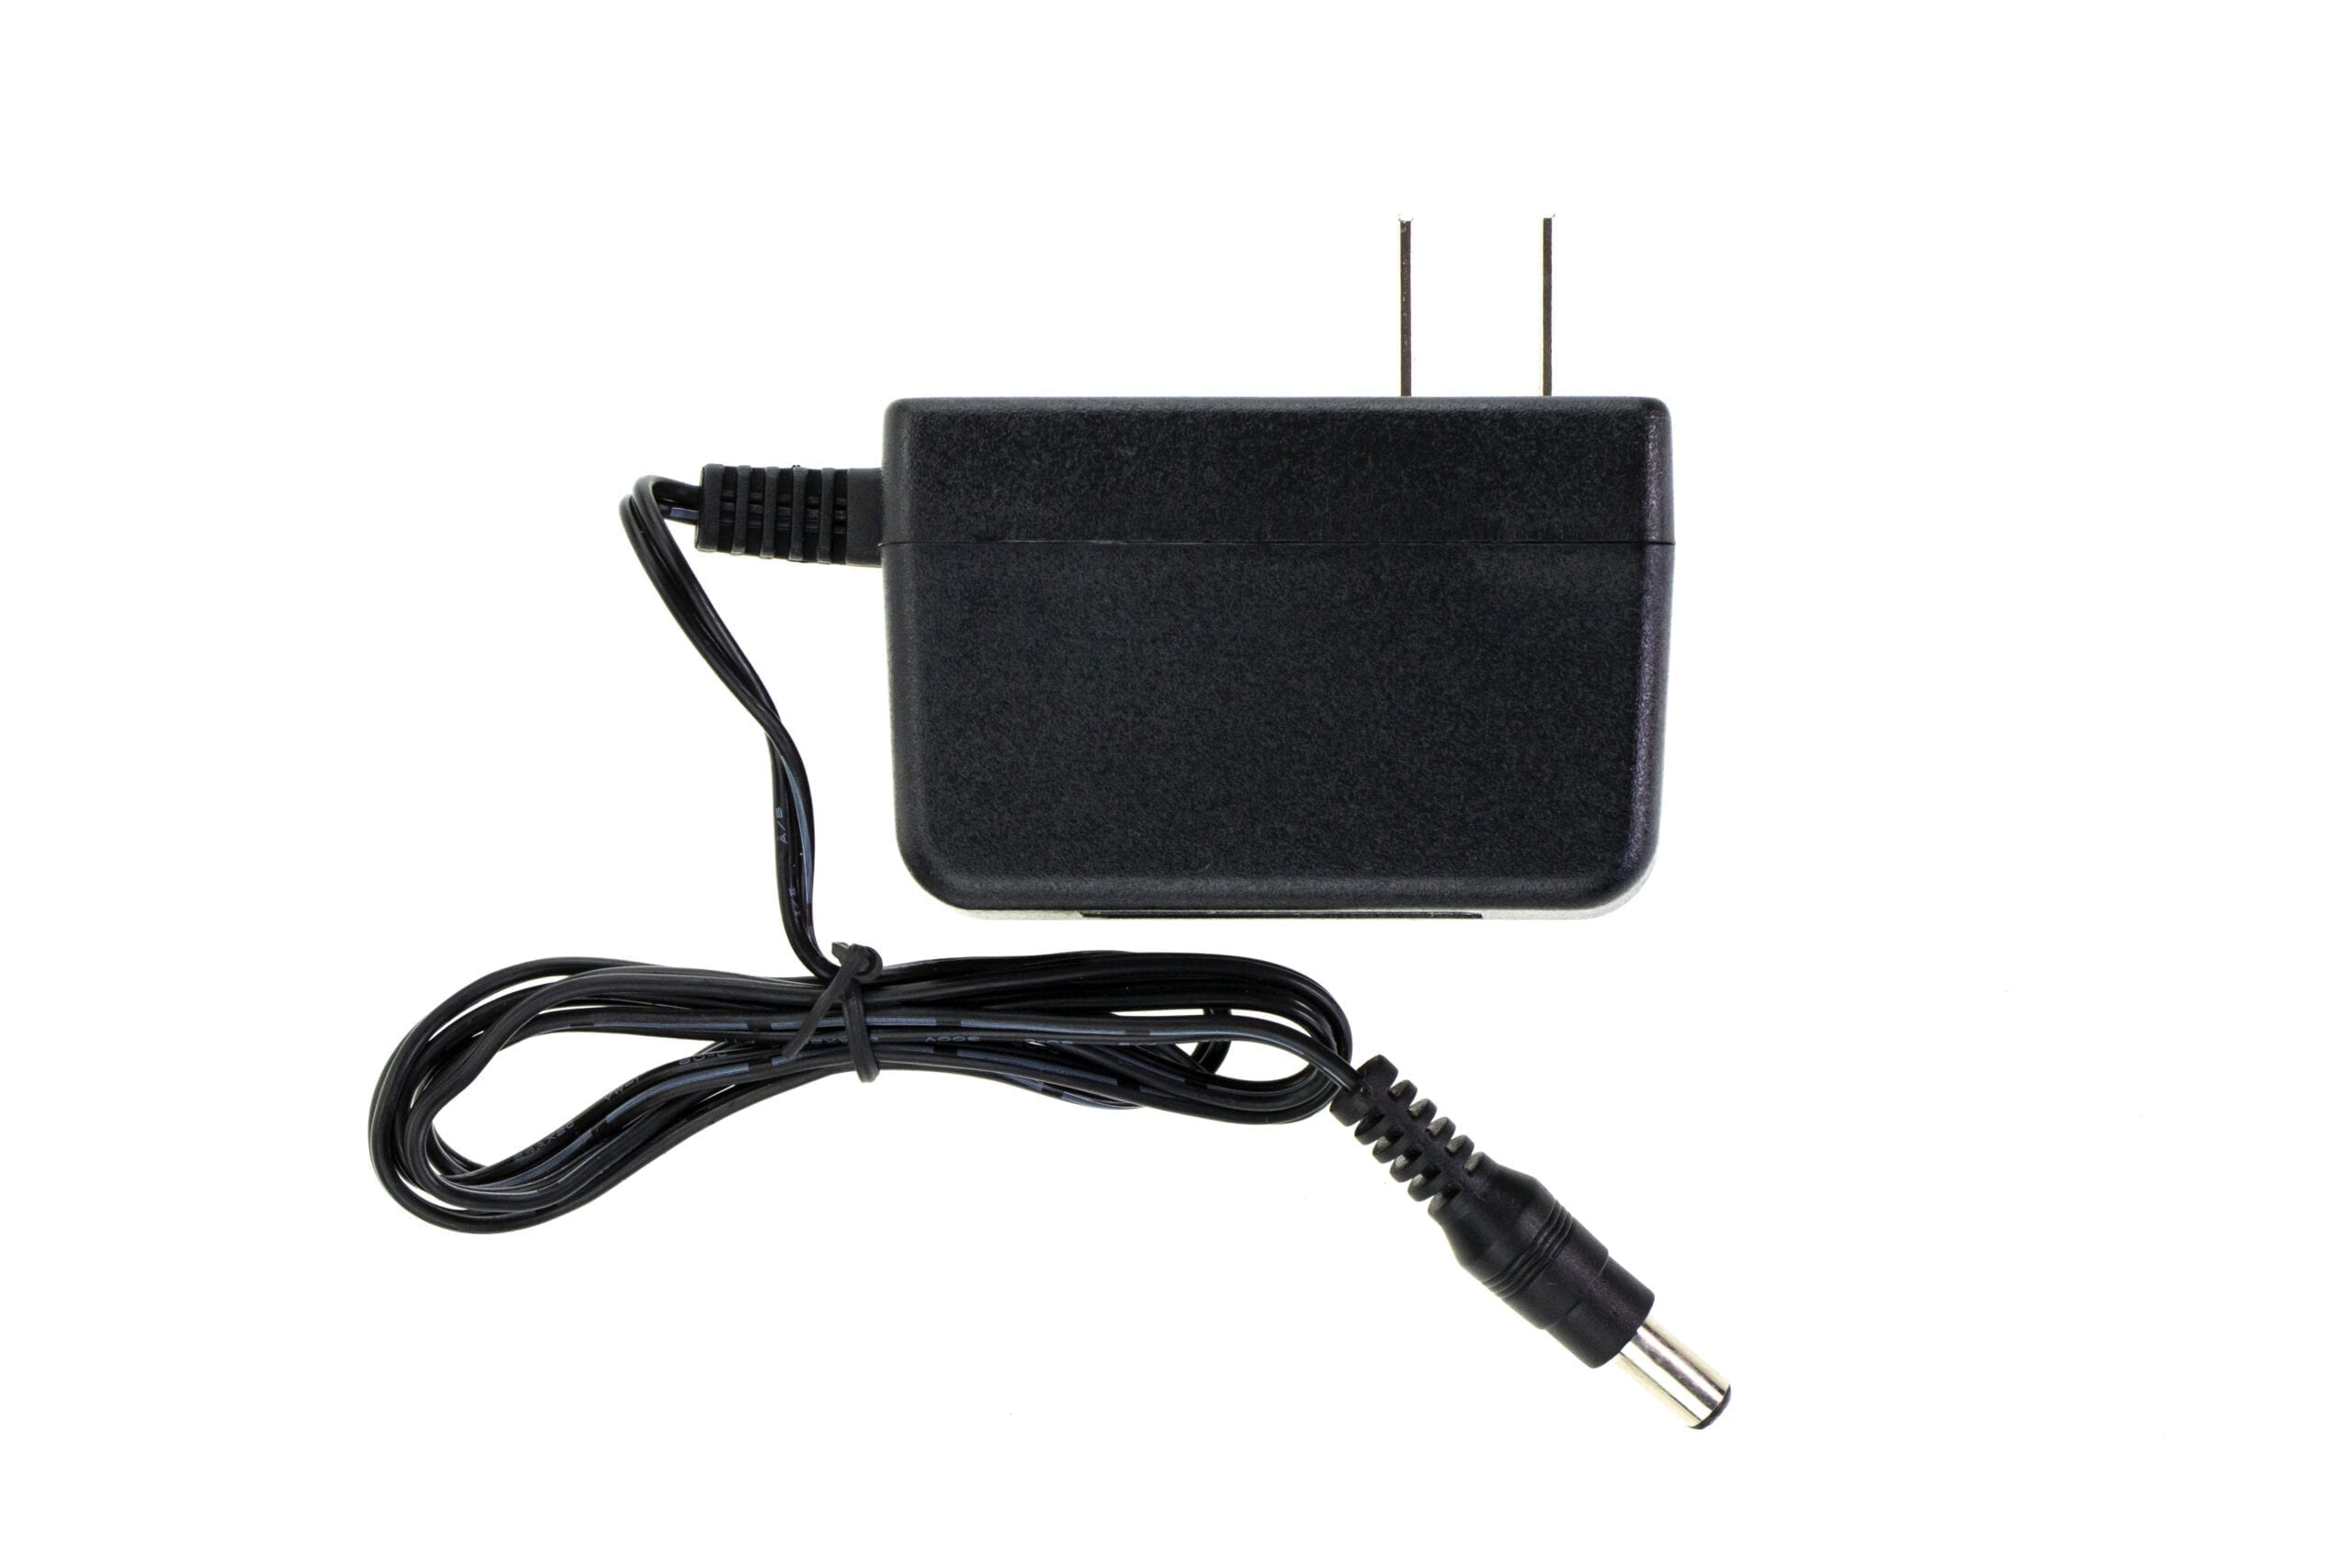
How to differentiate old AC DC adapters from electronic ones.

To identify an electric AC DC adapter, see the electric specification near the plug. If you spot a narrow “120Vac 60Hz” or “240Vac 50Hz” in the input, for example, then it is likely to be electric one.

On the contrary, electronic AC DC adapters have wider voltage input, such as “100-240Vac 50-60Hz”. These are called “switching power supplies“.

However, some AC DC adapters may have voltage regulators (such as a 7812) and it will still be labeled as a narrow voltage. In this case, such electronic power supplies will give a good and reliable DC output.

Examples of old AC DC adapters reused

Now I’m going to show you a few examples where I have used and recycled old AC DC adapters for powering electronic devices.

Soldering the old AC DC adapter.

For most cases, you will need to solder with tin and a soldering iron.

Strip about 1 or 2cm of insulation from the cables and solder the corresponding (+) with (+) and (-) with (-) and surround it with isolation tape.

You could however, use masking tape instead. If so, make sure you twist both cables to ensure contact since the connection between the cables are mechanically weak. Although it will work, I don't recommend this joint for most cases.

Power an Arduino.

According to the tech specs from the official website of Arduino, the model UNO can be powered from 7 to 12Vdc in the input voltage jack. The higher the input voltage is (within this range), the inefficiency will be higher; this happens because the heat generated by the power regulator.

I found that I had a power supply laying around from old device that has exactly what I was looking for. This power supply delivers 7Vdc and 1.75A maximum, which will work perfectly with Arduino. How do I know that it will have a reliable 7Vdc voltage source? Because I see the label “100-240Vac” on the AC input, which means it's a switching power supply.

Fortunately, this old AC DC adapter came with the same DC jack that the Arduino input requires. All I needed to do is to connect it directly. As you can see in the image below, I have a functioning Arduino!

Reuse an old laptop charger.

This is another quality power supply with a reliable DC output. Almost everyone are compatible with the standard “100-240Vac 50/60Hz“. Most laptops uses 19Vdc with at least 3A current (60W of power or more!). This is more than enough for 95% of microelectronic projects.

I recommend that you solder a DC DC converter in the output. If you know already in which electronic project you are going to use it, then choose the fixed output. Otherwise, go for a variable output. This means, you can use a potentiometer with a screw driver to choose the desired output voltage that you want.

Another good idea is to solder a DC jack in the output (cables yellow and black), if your project has one.

Reuse a cellphone charger.

Since most modern cellphones and smartphones uses 5Vdc as the standard for charging its battery, it's convenient to use its charger for an Arduino or another microcontrollers. If your last cellphone didn't last more than 1 year, it's not an iPhone and you can use its charger to power an microcontroller on a breadboard, as I am going to show you.

In the following picture, I used a wire cutter and stripper to leave the red (+) and black () cable ready for the breadboard. This way, you can screw both cables to the red and black terminals of the breadboard.

You may have the idea to keep the micro-USB plug untouched because of its mechanical robustness. For such cases, you will need a micro-USB to breadboard adapter, like the following:

Use on electronic circuit boards.

I'm going to use one on a DIY PCB “LED Roulette” than I soldered myself years ago. It requires 12Vdc so it should work.

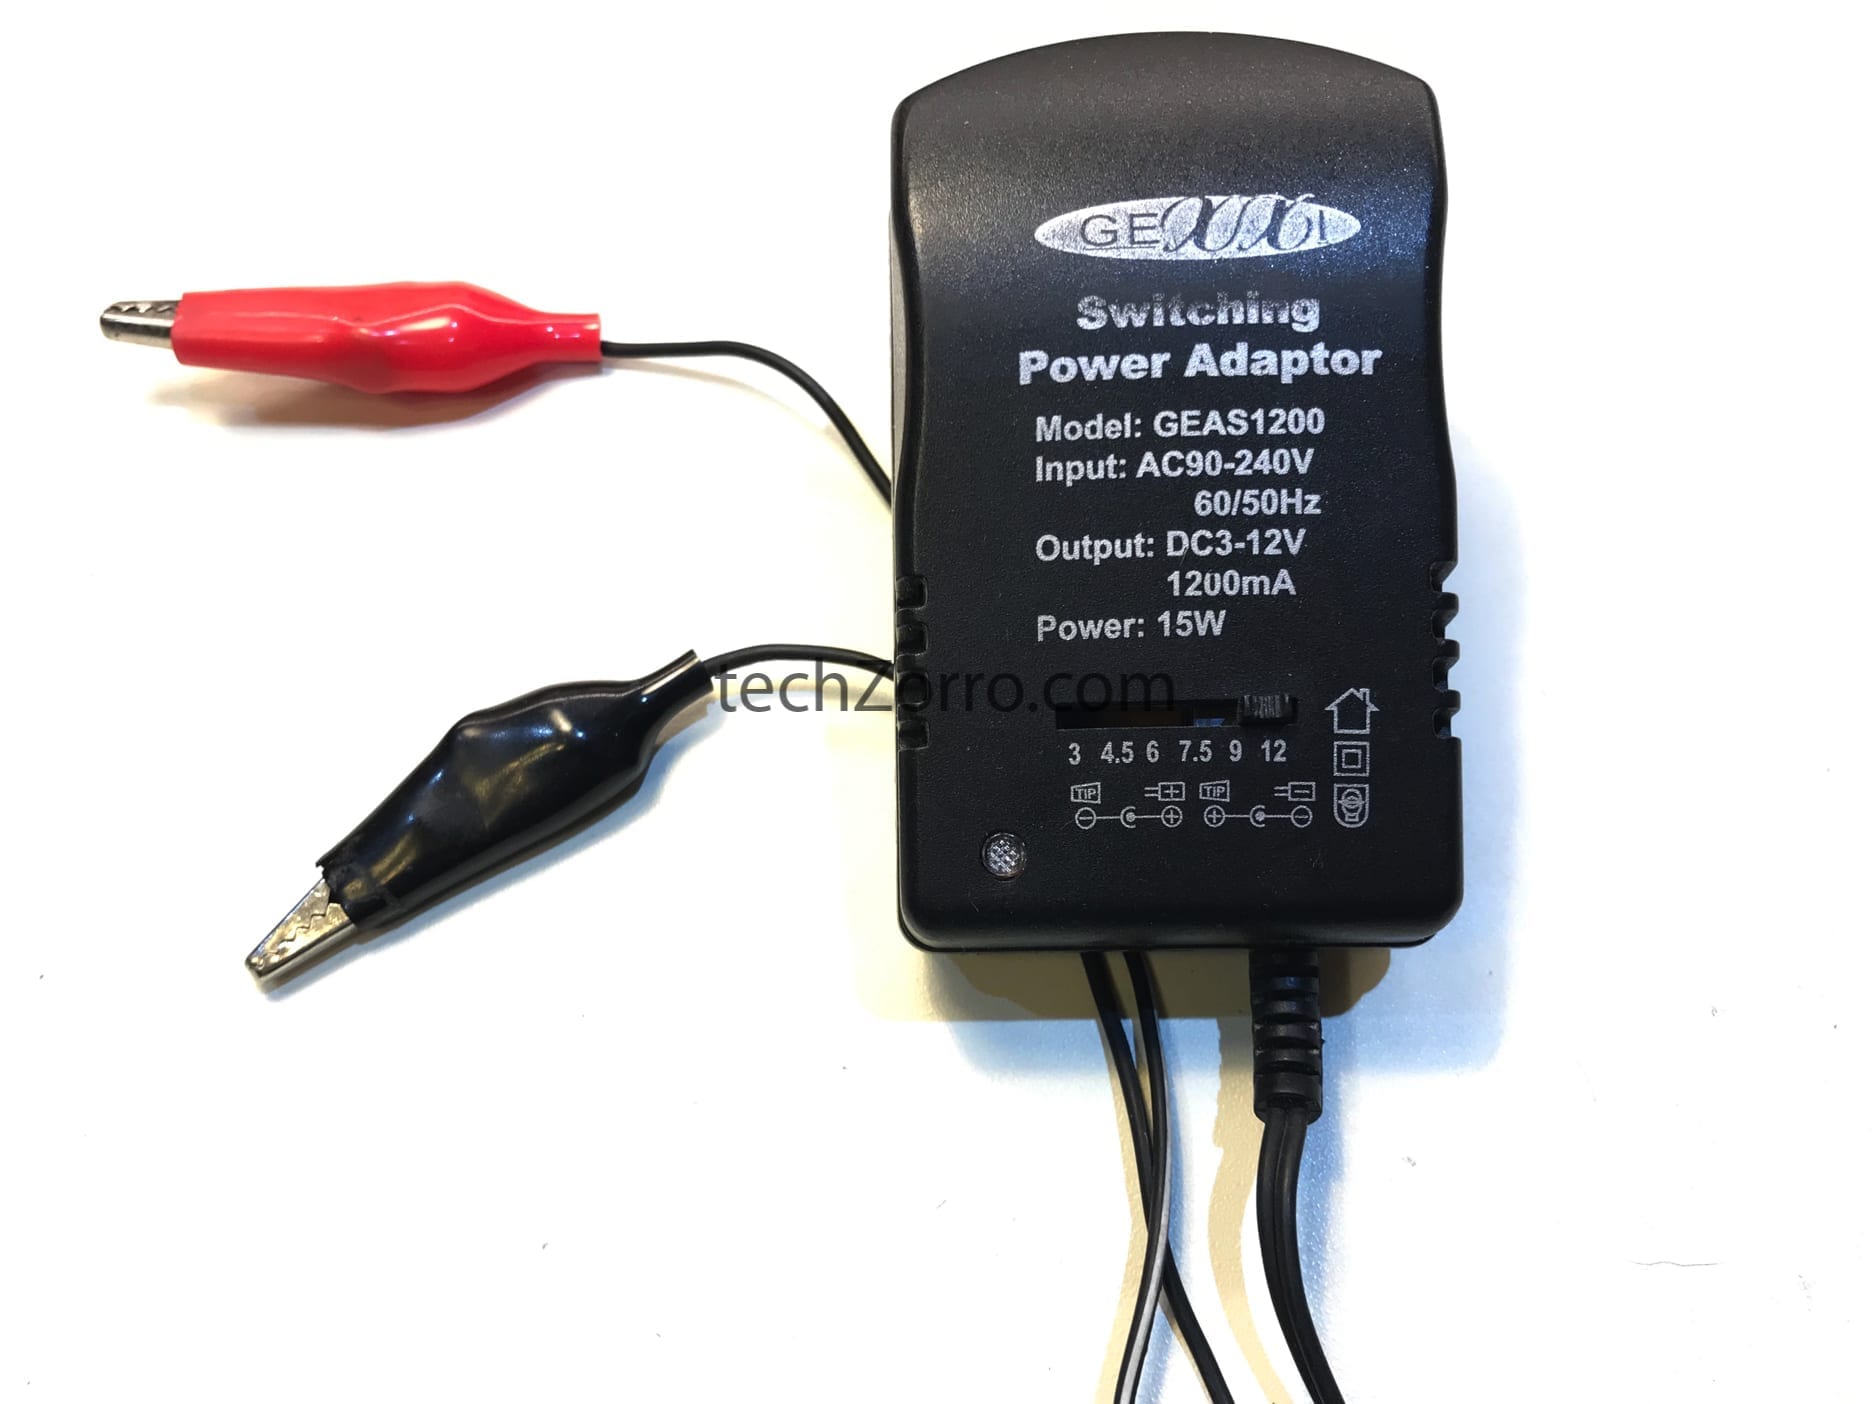
I'm going to use this old AC/DC adapter from a Panasonic telephone. It's labeled as 12Vdc and 100mA . Beware! On the label you can see the it uses a center negative polarity or “exterior positive (+) and interior negative (-)”, which is the opposite of today's standard! Check this information before plugging anything!

Instead of using the plug, I cut it and just used the bare cables. Before going any further, a good advice when soldering is cutting one of the wires a little bit, making it more difficult for a short-circuit to happen. I learned this trick from a book I read, written by Charles Platt.

Let's measure the voltages. First, before plugging anything (open circuit) and then with the load of the LED Roulette connected (closed circuit). You should use an digital multimeter for this purpose.

Digital multimeter.
Open CircuitClose Circuit
Voltage (Vdc)16,0214,23

Although in the PCB it says “12V”, CMOS integrated circuits tolerate wider range of voltages.

Well, that is pretty much what you need to do! Find a nice place to leave the LED roulette connected 24/7.

You have reached this far!

Thank you for reading the blog post. Your comments and suggestions are welcomed. At the bottom of this page, leave a message or just say hi! The whole team of techZorro will appreciate it. Don't forget to share it on social media as well.

techZorro’s Index of Content

Click on the following link to browse likewise content in the blog in techZorro. This index will help you see what you are looking for in a bird’s eye view.

techZorro's Newsletter!

If you enjoyed this blog post, please subscribe to techZorro’s newsletter so you don’t miss any future blog posts!

Leave a Reply

This site uses Akismet to reduce spam. Learn how your comment data is processed.

Adaptador Viejo AC DC para reutilizarlo con electrónicos.

Adaptador Viejo AC DC para reutilizarlo con electrónicos.

Cómo diferenciar los adaptadores AC DC antiguos de los electrónicos.

Para identificar un adaptador eléctrico AC DC, consulta la especificación eléctrica cerca del enchufe. Si detecta un estrecho “120Vac 60Hz” o “240Vac 50Hz” en la entrada, por ejemplo, es probable que sea eléctrico.

Por el contrario, los adaptadores electrónicos AC DC tienen una entrada de voltaje más amplia, como “100-240 Vac 50-60 Hz”. Estos se denominan “fuentes de alimentación conmutadas“.

Sin embargo, algunos adaptadores de AC DC pueden tener reguladores de voltaje (como un 7812) y aún se etiquetará como un voltaje estrecho. En este caso, estas fuentes de alimentación electrónicas proporcionarán una salida de DC buena y fiable.

Ejemplos de viejos adaptadores AC DC reutilizados

Ahora les mostraré algunos ejemplos en los que he usado y reciclado adaptadores CA CC viejos para alimentar dispositivos electrónicos.

Soldar el viejo adaptador AC DC.

En la mayoría de los casos, necesitará soldar con estaño y un soldador.

Pela aproximadamente 1 o 2 cm de aislamiento de los cables y suelda el (+) correspondiente con (+) y (-) con (-) y envuélvalo con cinta aislante.

Sin embargo, puede utilizar cinta adhesiva en su lugar. Si es así, asegúrese de torcer ambos cables para asegurar el contacto, ya que la conexión entre los cables es mecánicamente débil. Aunque funcionará, no recomiendo esta articulación en la mayoría de los casos.

Energizar un Arduino.

De acuerdo con las especificaciones técnicas del sitio web oficial de Arduino, el modelo UNO se puede alimentar de 7 a 12Vdc en el conector de voltaje de entrada. Cuanto mayor sea el voltaje de entrada (dentro de este rango), la ineficiencia será mayor; esto sucede debido al calor generado por el regulador de potencia.

Descubrí que tenía una fuente de alimentación de un dispositivo viejo que tiene exactamente lo que estaba buscando. Esta fuente de alimentación entrega 7Vdc y 1.75A como máximo, que funcionará perfectamente con Arduino. ¿Cómo sé que tendrá una fuente de voltaje confiable de 7Vdc? Porque veo la etiqueta “100-240Vac” en la entrada de AC, lo que significa que es una fuente de alimentación conmutada.

Afortunadamente, este antiguo adaptador AC DC vino con el mismo conector DC que requiere la entrada Arduino. Todo lo que necesitaba hacer es conectarlo directamente. Como puede ver en la imagen a continuación, ¡tengo un Arduino en funcionamiento!

Reutilizar un cargador de laptop viejo.

Esta es otra fuente de alimentación de calidad con una salida de DC confiable. Casi todos son compatibles con el estándar “100-240Vac 50/60Hz“. La mayoría de las computadoras portátiles usan 19 Vdc con al menos 3 A de corriente (¡60W de potencia o más!). Esto es más que suficiente para el 95% de los proyectos microelectrónicos.

Le recomiendo que suelde un convertidor DC DC en la salida. Si ya sabe en qué proyecto electrónico lo va a utilizar, elija la salida fija. De lo contrario, opte por una salida variable. Esto significa que puede usar un potenciómetro con un destornillador para elegir el voltaje de salida deseado que desee.

Otra buena idea es soldar un conector DC en la salida (cables amarillo y negro), si tu proyecto tiene uno.

Reutiliza un cargador de teléfono celular.

Dado que la mayoría de los teléfonos móviles y teléfonos inteligentes modernos utilizan 5 Vdc como estándar para cargar su batería, es conveniente usar su cargador para un Arduino u otros microcontroladores. Si su último teléfono celular no duró más de 1 año, no es un iPhone y puede usar su cargador para alimentar un microcontrolador en una placa, como les voy a mostrar.

En la siguiente imagen, utilicé un cortador de alambre y un pelacables para dejar el cable rojo (+) y negro (-) listo para la placa. De esta manera, puede atornillar ambos cables a los terminales rojo y negro de la placa de pruebas.

Puede que tengas la idea de mantener intacto el conector micro-USB debido a su robustez mecánica. Para tales casos, necesitarás un adaptador micro-USB para placas de prueba, como los siguientes:

Utilizar en placas de circuitos electrónicos.

Voy a usar una en una “Ruleta LED” de PCB de bricolaje (hazlo tú mismo) que soldé hace años. Requiere 12Vdc por lo que debería funcionar.

Voy a usar este adaptador viejo AC DC de un teléfono Panasonic. Está etiquetado como 12Vdc y 100mA. ¡Ten cuidado! En la etiqueta puedes ver que usa una polaridad negativa central o “exterior positivo (+) e interior negativo (-)”, que es lo opuesto al estándar actual. ¡Verifica esta información antes de conectar cualquier cosa!

  • Center polarity DC AC/DC plug adapter
  • Center polarity DC AC/DC plug adapter

Instead of using the plug, I cut it and just used the bare cables. Before going any further, a good advice when soldering is cutting one of the wires a little bit, making it more difficult for a short-circuit to happen. I learned this trick from a book I read, written by Charles Platt.

En lugar de usar el enchufe, lo corté y solo usé los cables desnudos. Antes de continuar, un buen consejo a la hora de soldar es cortar un poco uno de los cables, lo que dificulta que se produzca un cortocircuito. Aprendí este truco de un libro que leí, escrito por Charles Platt.

Midamos los voltajes. Primero, antes de enchufar cualquier cosa (circuito abierto) y luego con la carga de la Ruleta LED conectada (circuito cerrado). Debes utilizar un multímetro digital para este propósito.

Digital electrical tester on metallic background.
Circuito AbiertoCircuito Cerrado
Voltaje (Vdc)16,0214,23

Aunque en el PCB dice “12V”, los circuitos integrados CMOS toleran un rango más amplio de voltajes.

Bueno, ¡eso es más o menos lo que necesitas hacer! Encuentra un lugar agradable para dejar la ruleta LED conectada las 24 horas, los 7 días de la semana.

You have reached this far!

Thank you for reading the blog post. Your comments and suggestions are welcomed. At the bottom of this page, leave a message or just say hi! The whole team of techZorro will appreciate it. Don't forget to share it on social media as well.

techZorro’s Index of Content

Click on the following link to browse likewise content in the blog in techZorro. This index will help you see what you are looking for in a bird’s eye view.

techZorro's Newsletter!

If you enjoyed this blog post, please subscribe to techZorro’s newsletter so you don’t miss any future blog posts!

Leave a Reply

This site uses Akismet to reduce spam. Learn how your comment data is processed.